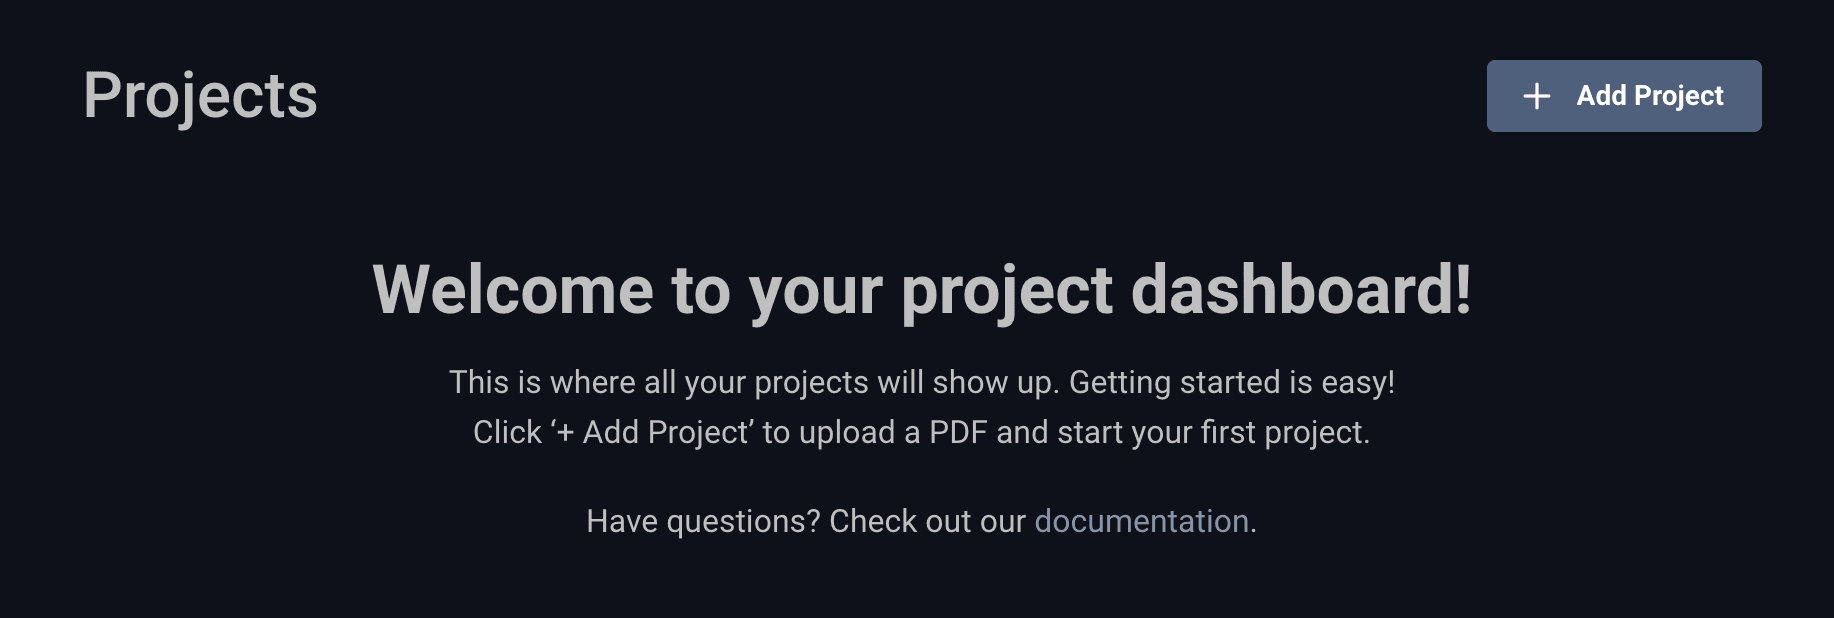
Start new project
If you use DREAMCOMPOSER® for the first time, you will now be guided through the new onboarding guide.
This step-by-step process will help you upload your file, analyze your design, and set up the project correctly before you continue with shapes, layers, and effects.
To start, please press “+ Add Project” in the upper right corner.
When creating a new project, the onboarding guide will open automatically.
- Select Project: You can either Drag & Drop your file into the upload area or
click inside the gray box to open your file browser and manually select your PDF.
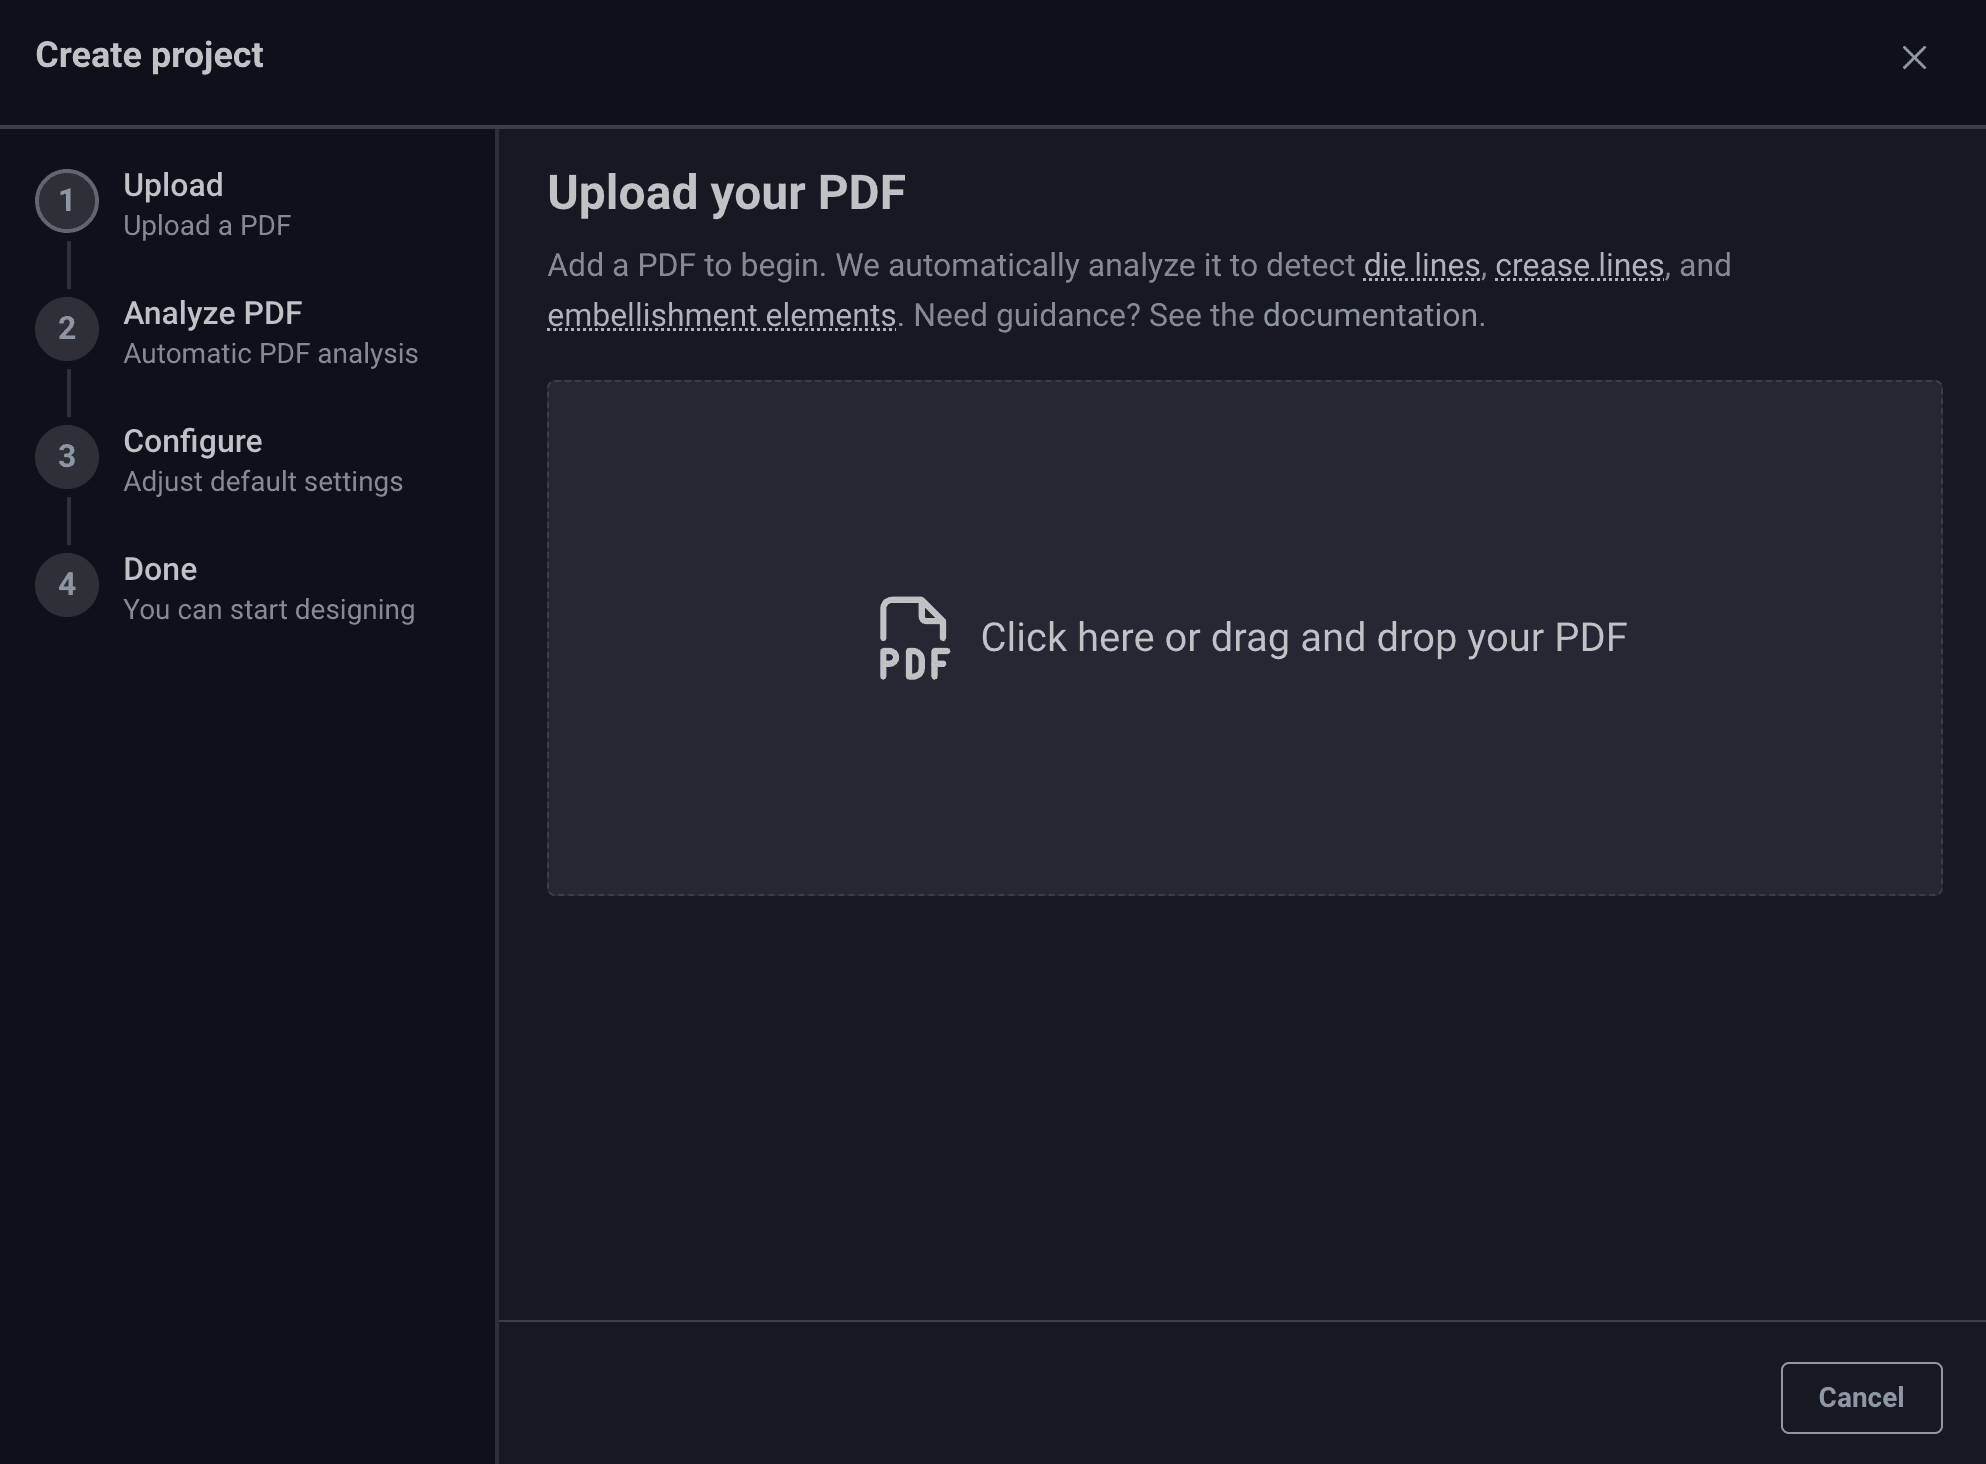
- PDF Analysis: After uploading, DREAMCOMPOSER® will process your file in the background.
The time required depends on your internet speed and the file size. Smaller, finalized PDFs will result in faster performance.
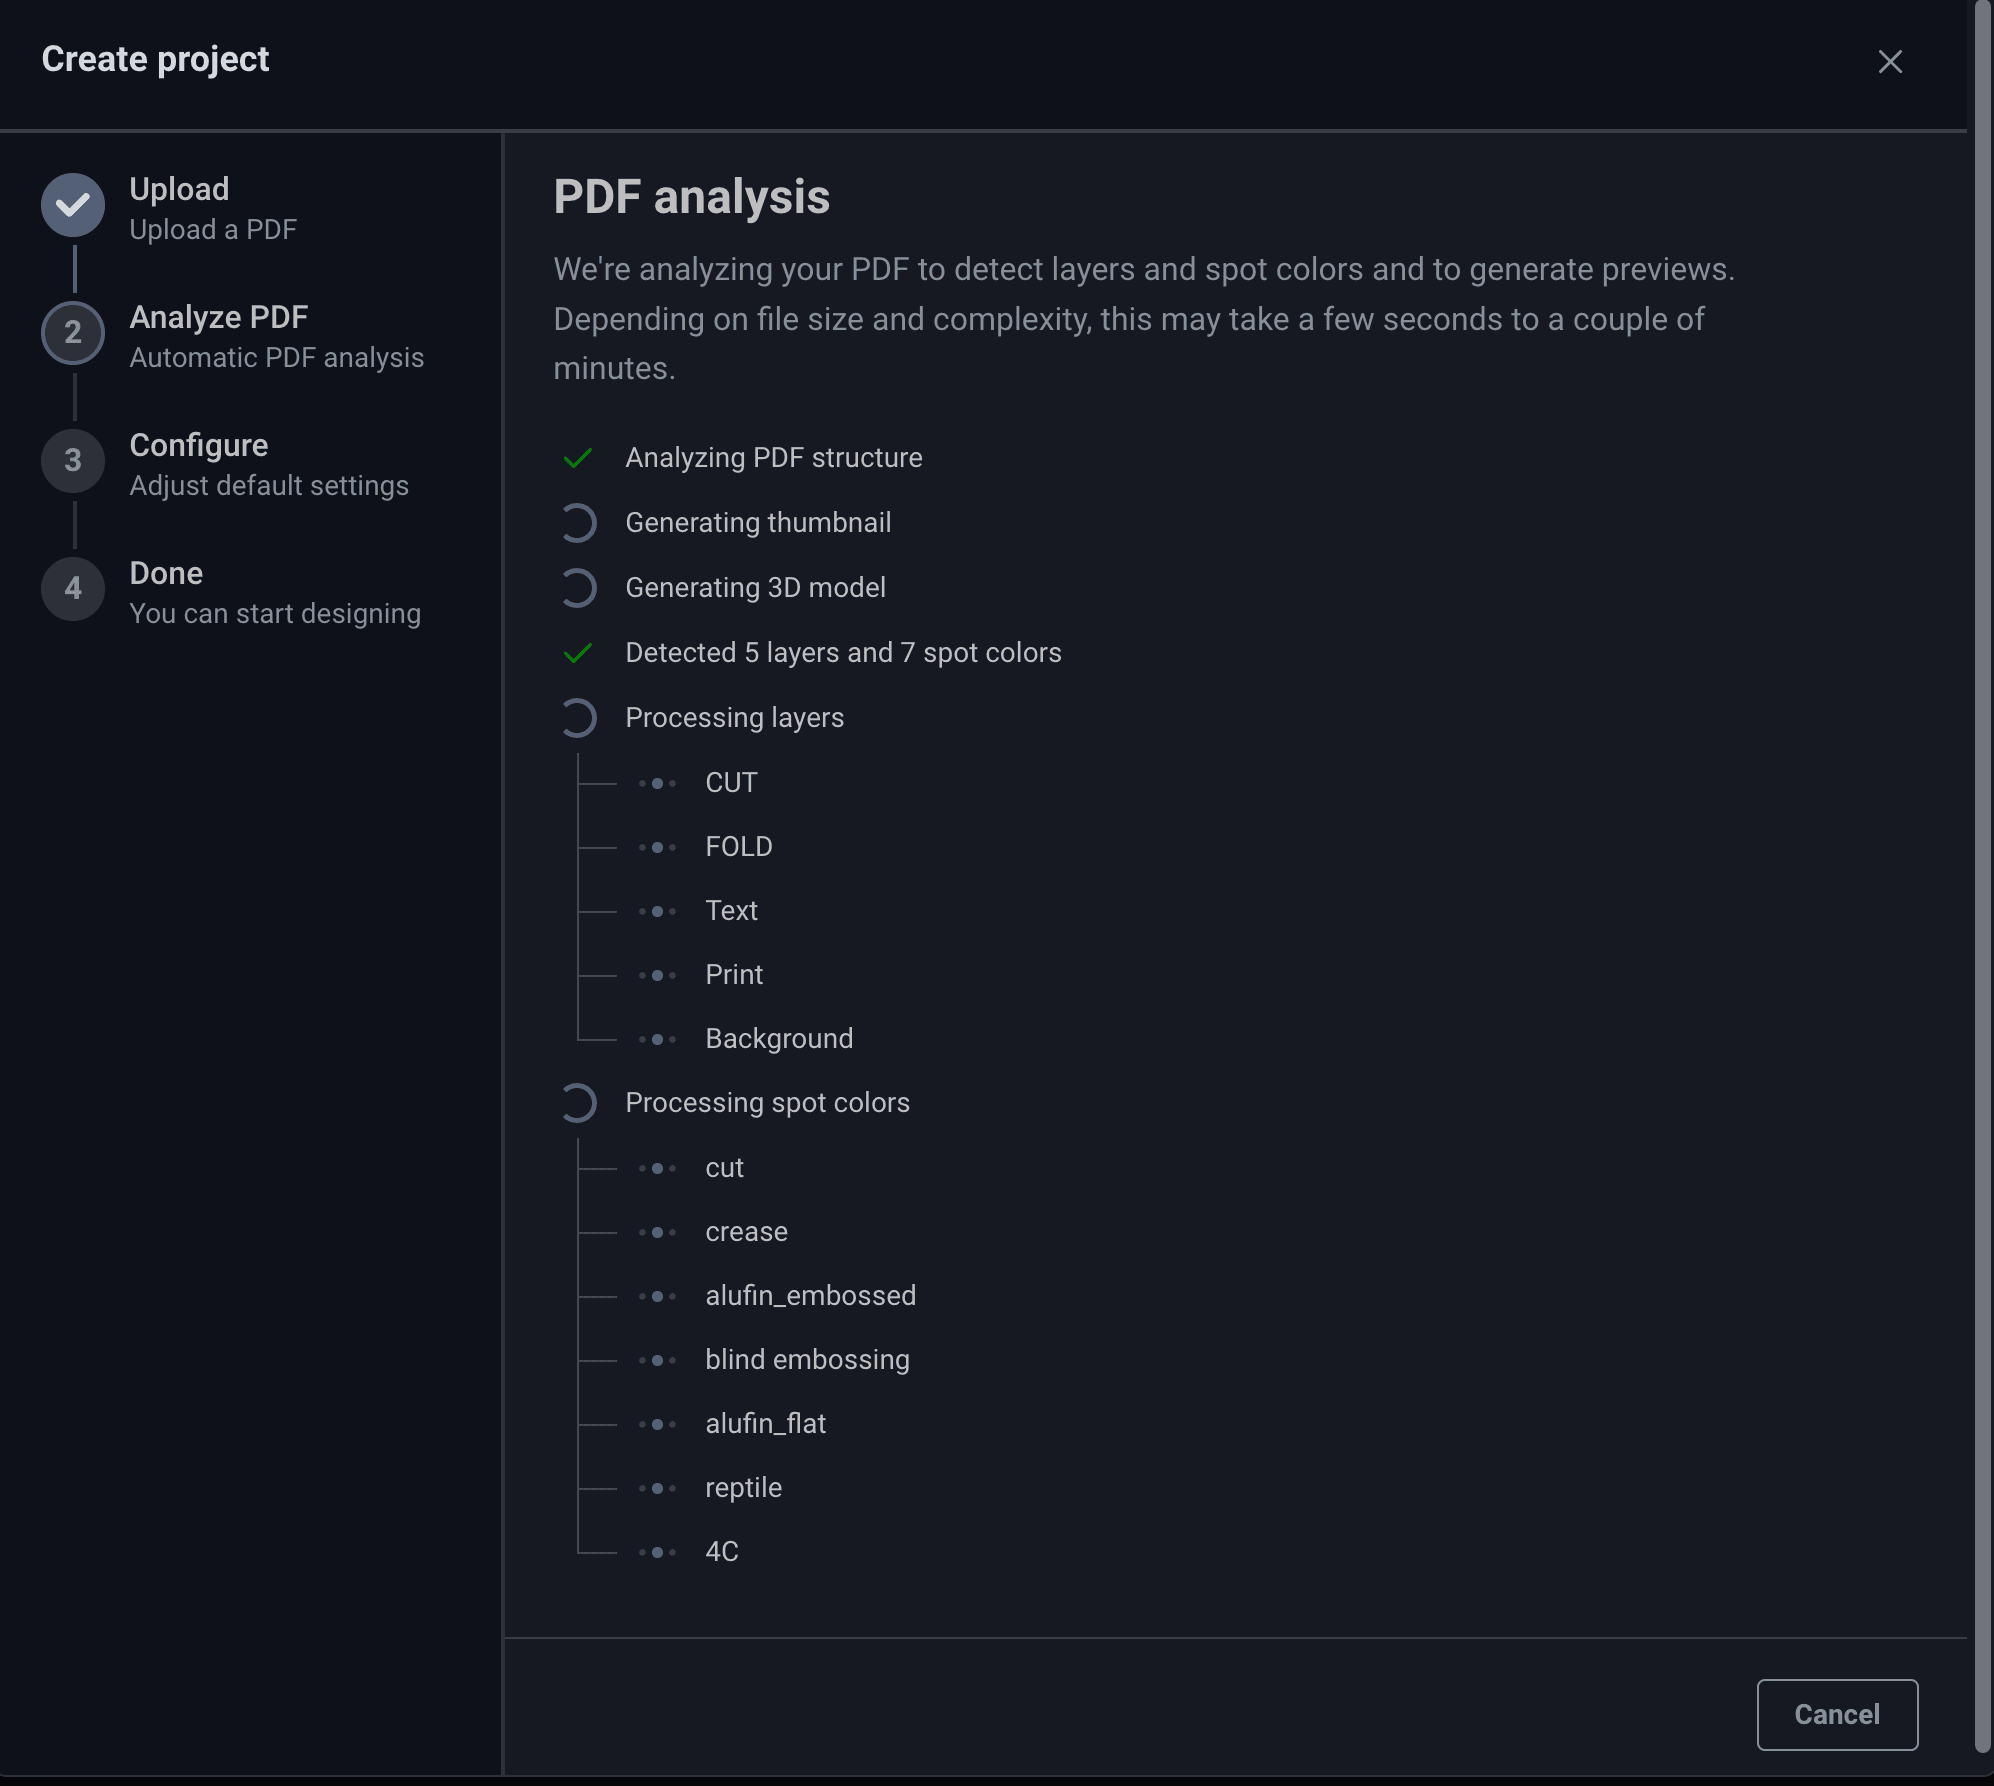
Once uploaded, DREAMCOMPOSER® automatically analyzes your PDF.
The software detects important elements such as:
- Layers (Print, Background, Text, etc.)
- Cut lines and crease lines
- Embellishment elements (foils, varnishes, embossing)
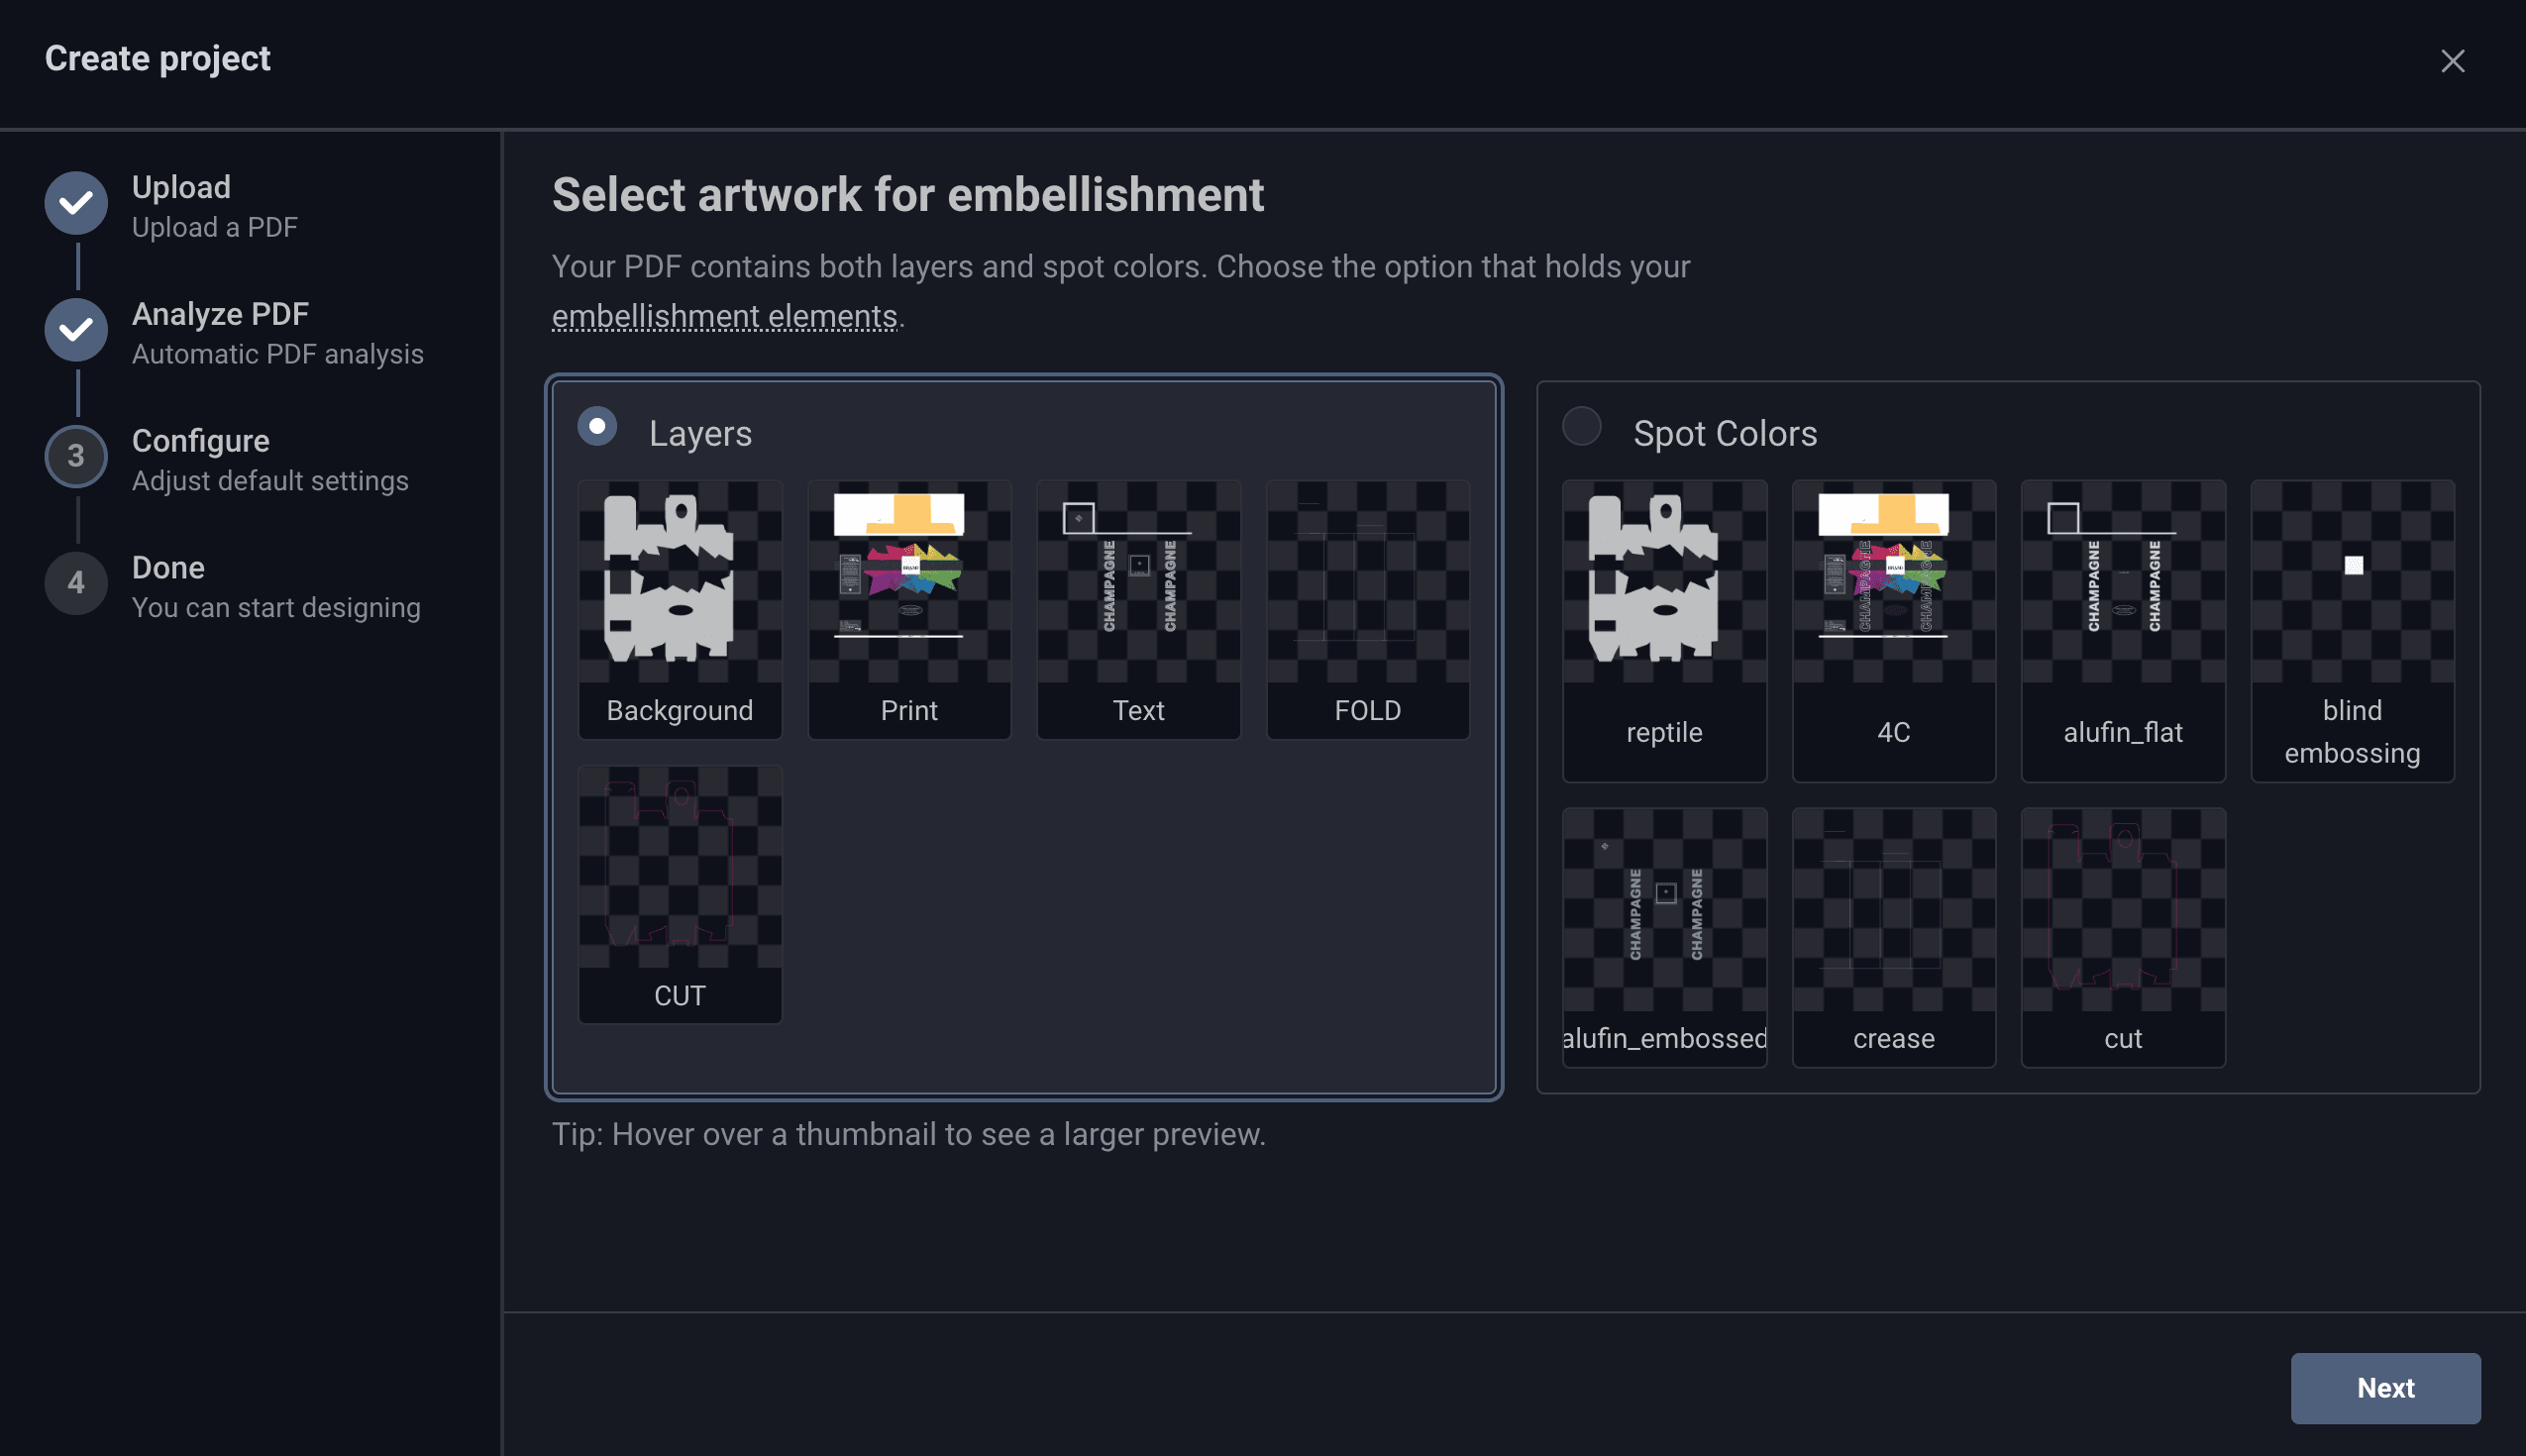
If your layers are clearly named (e.g. cut, crease), DREAMCOMPOSER® will select the correct ones automatically.
If not, you can select them manually.
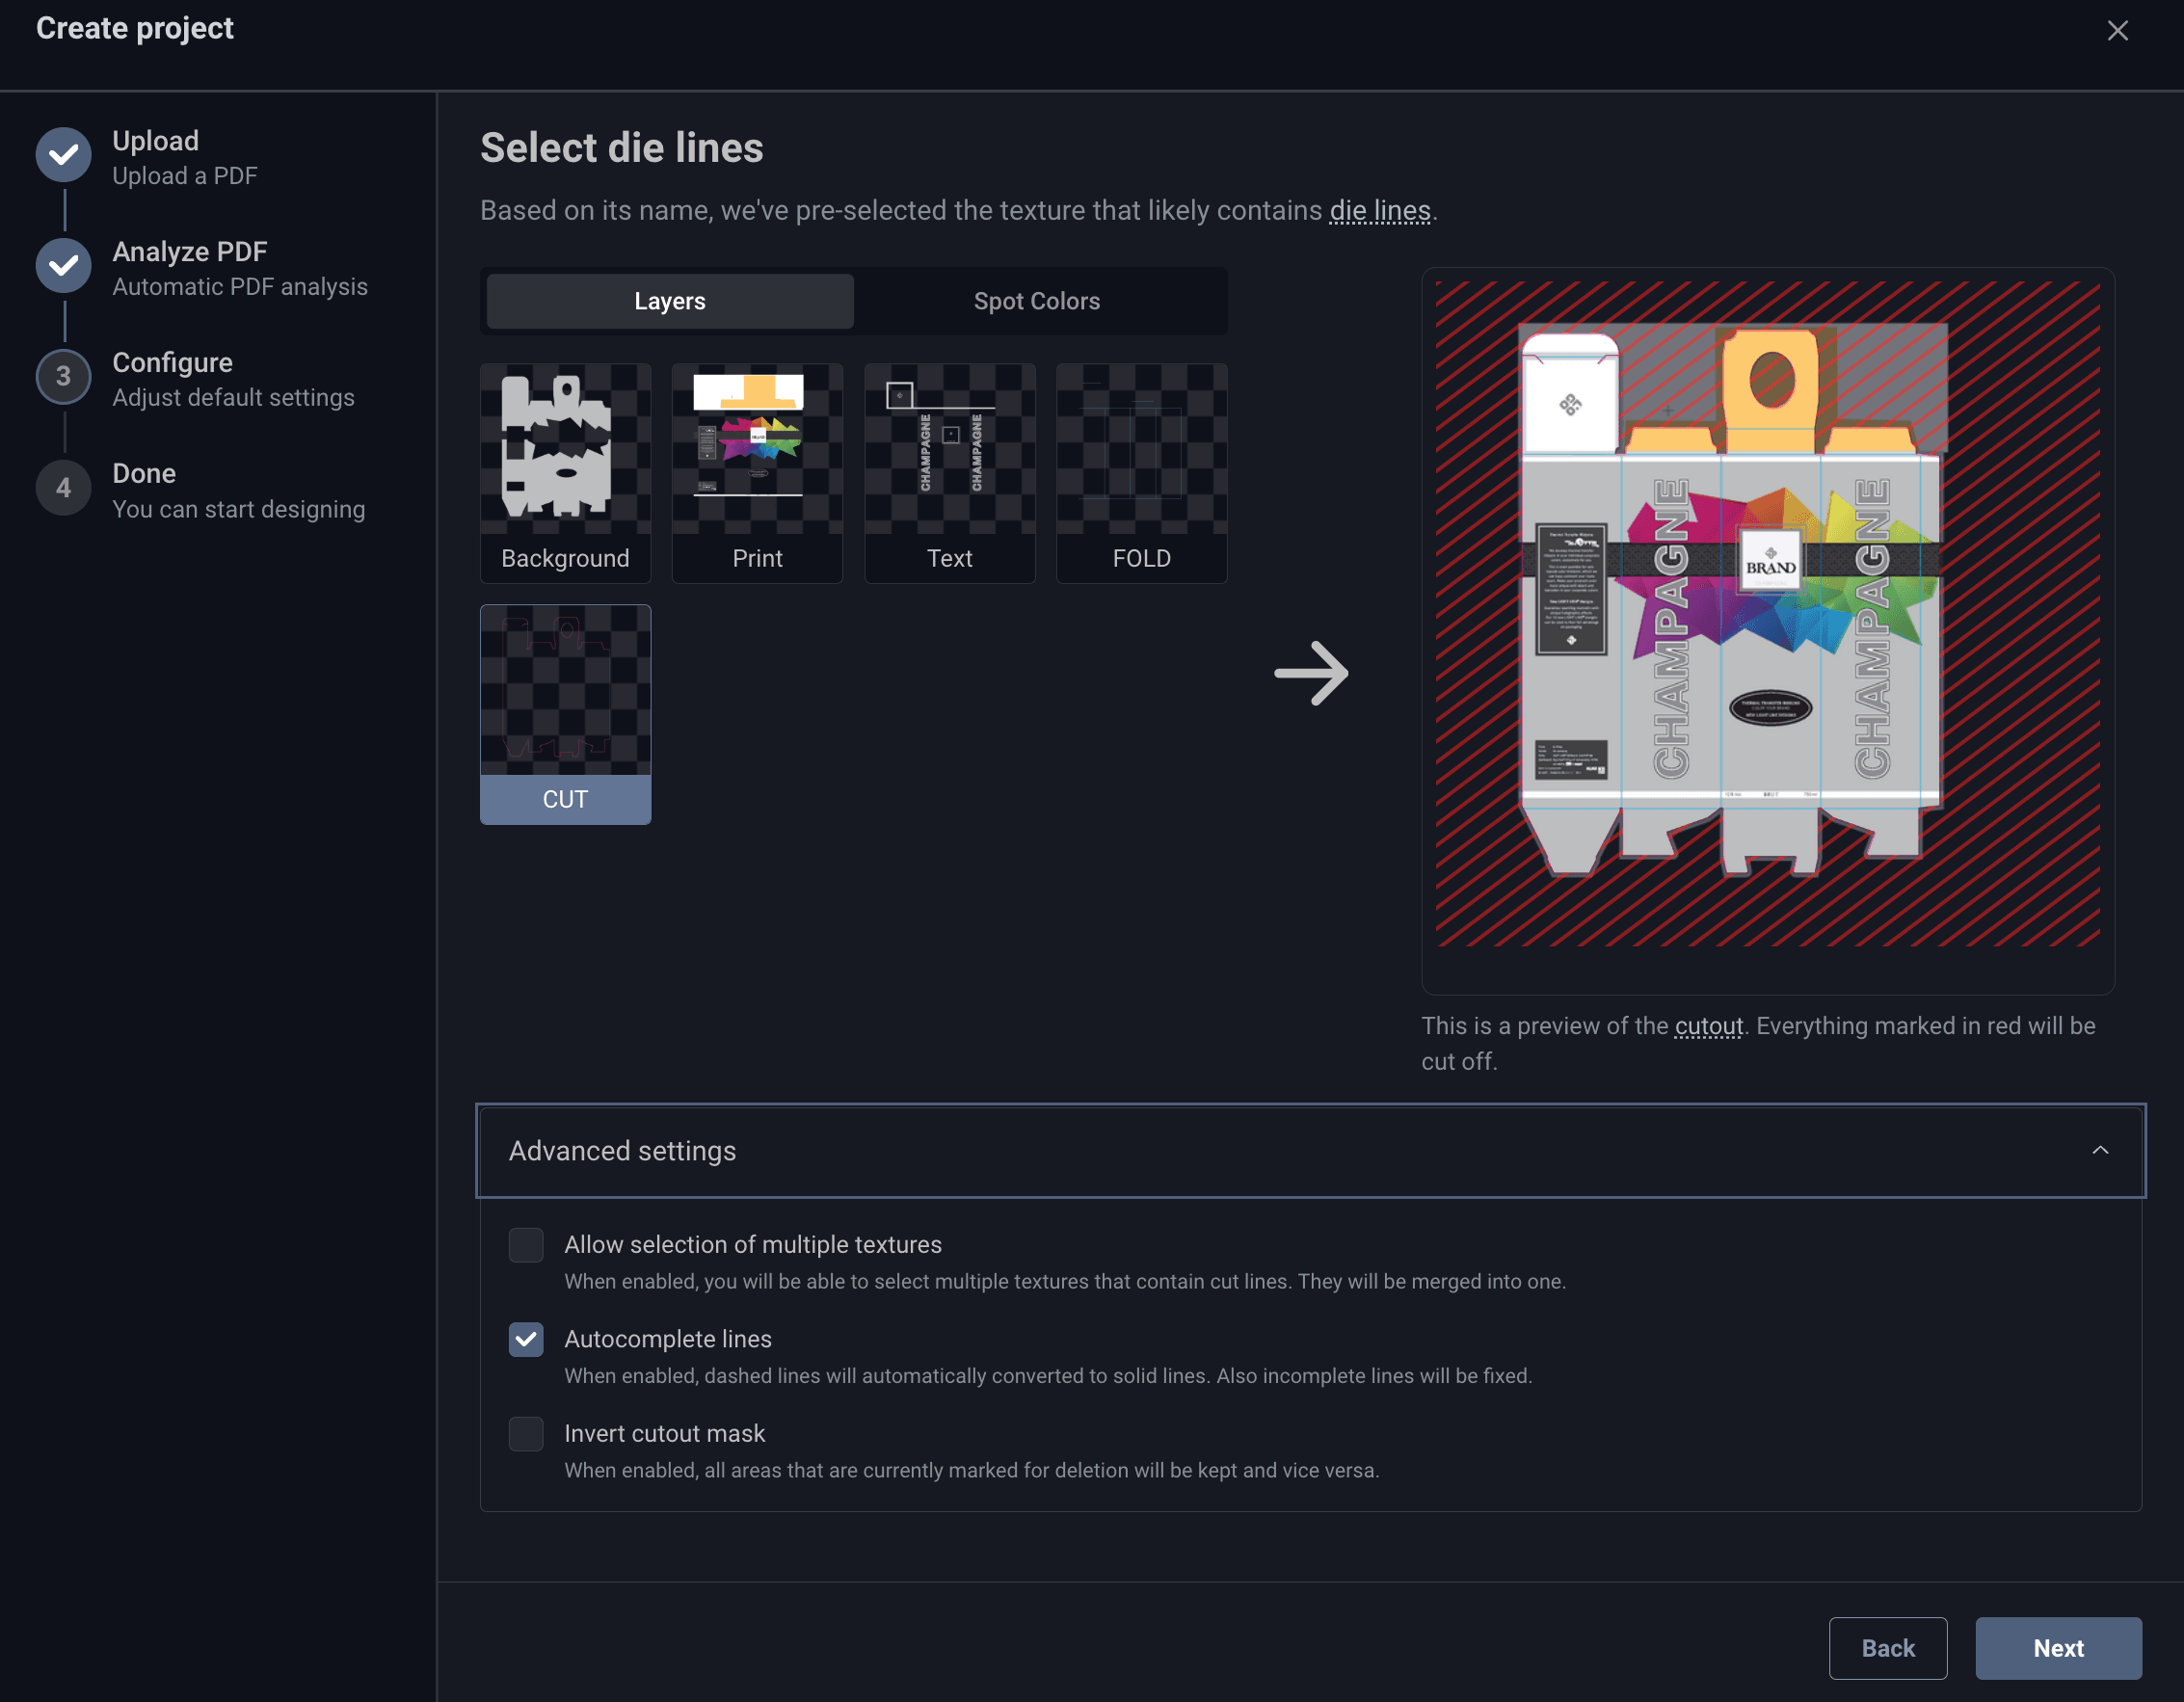
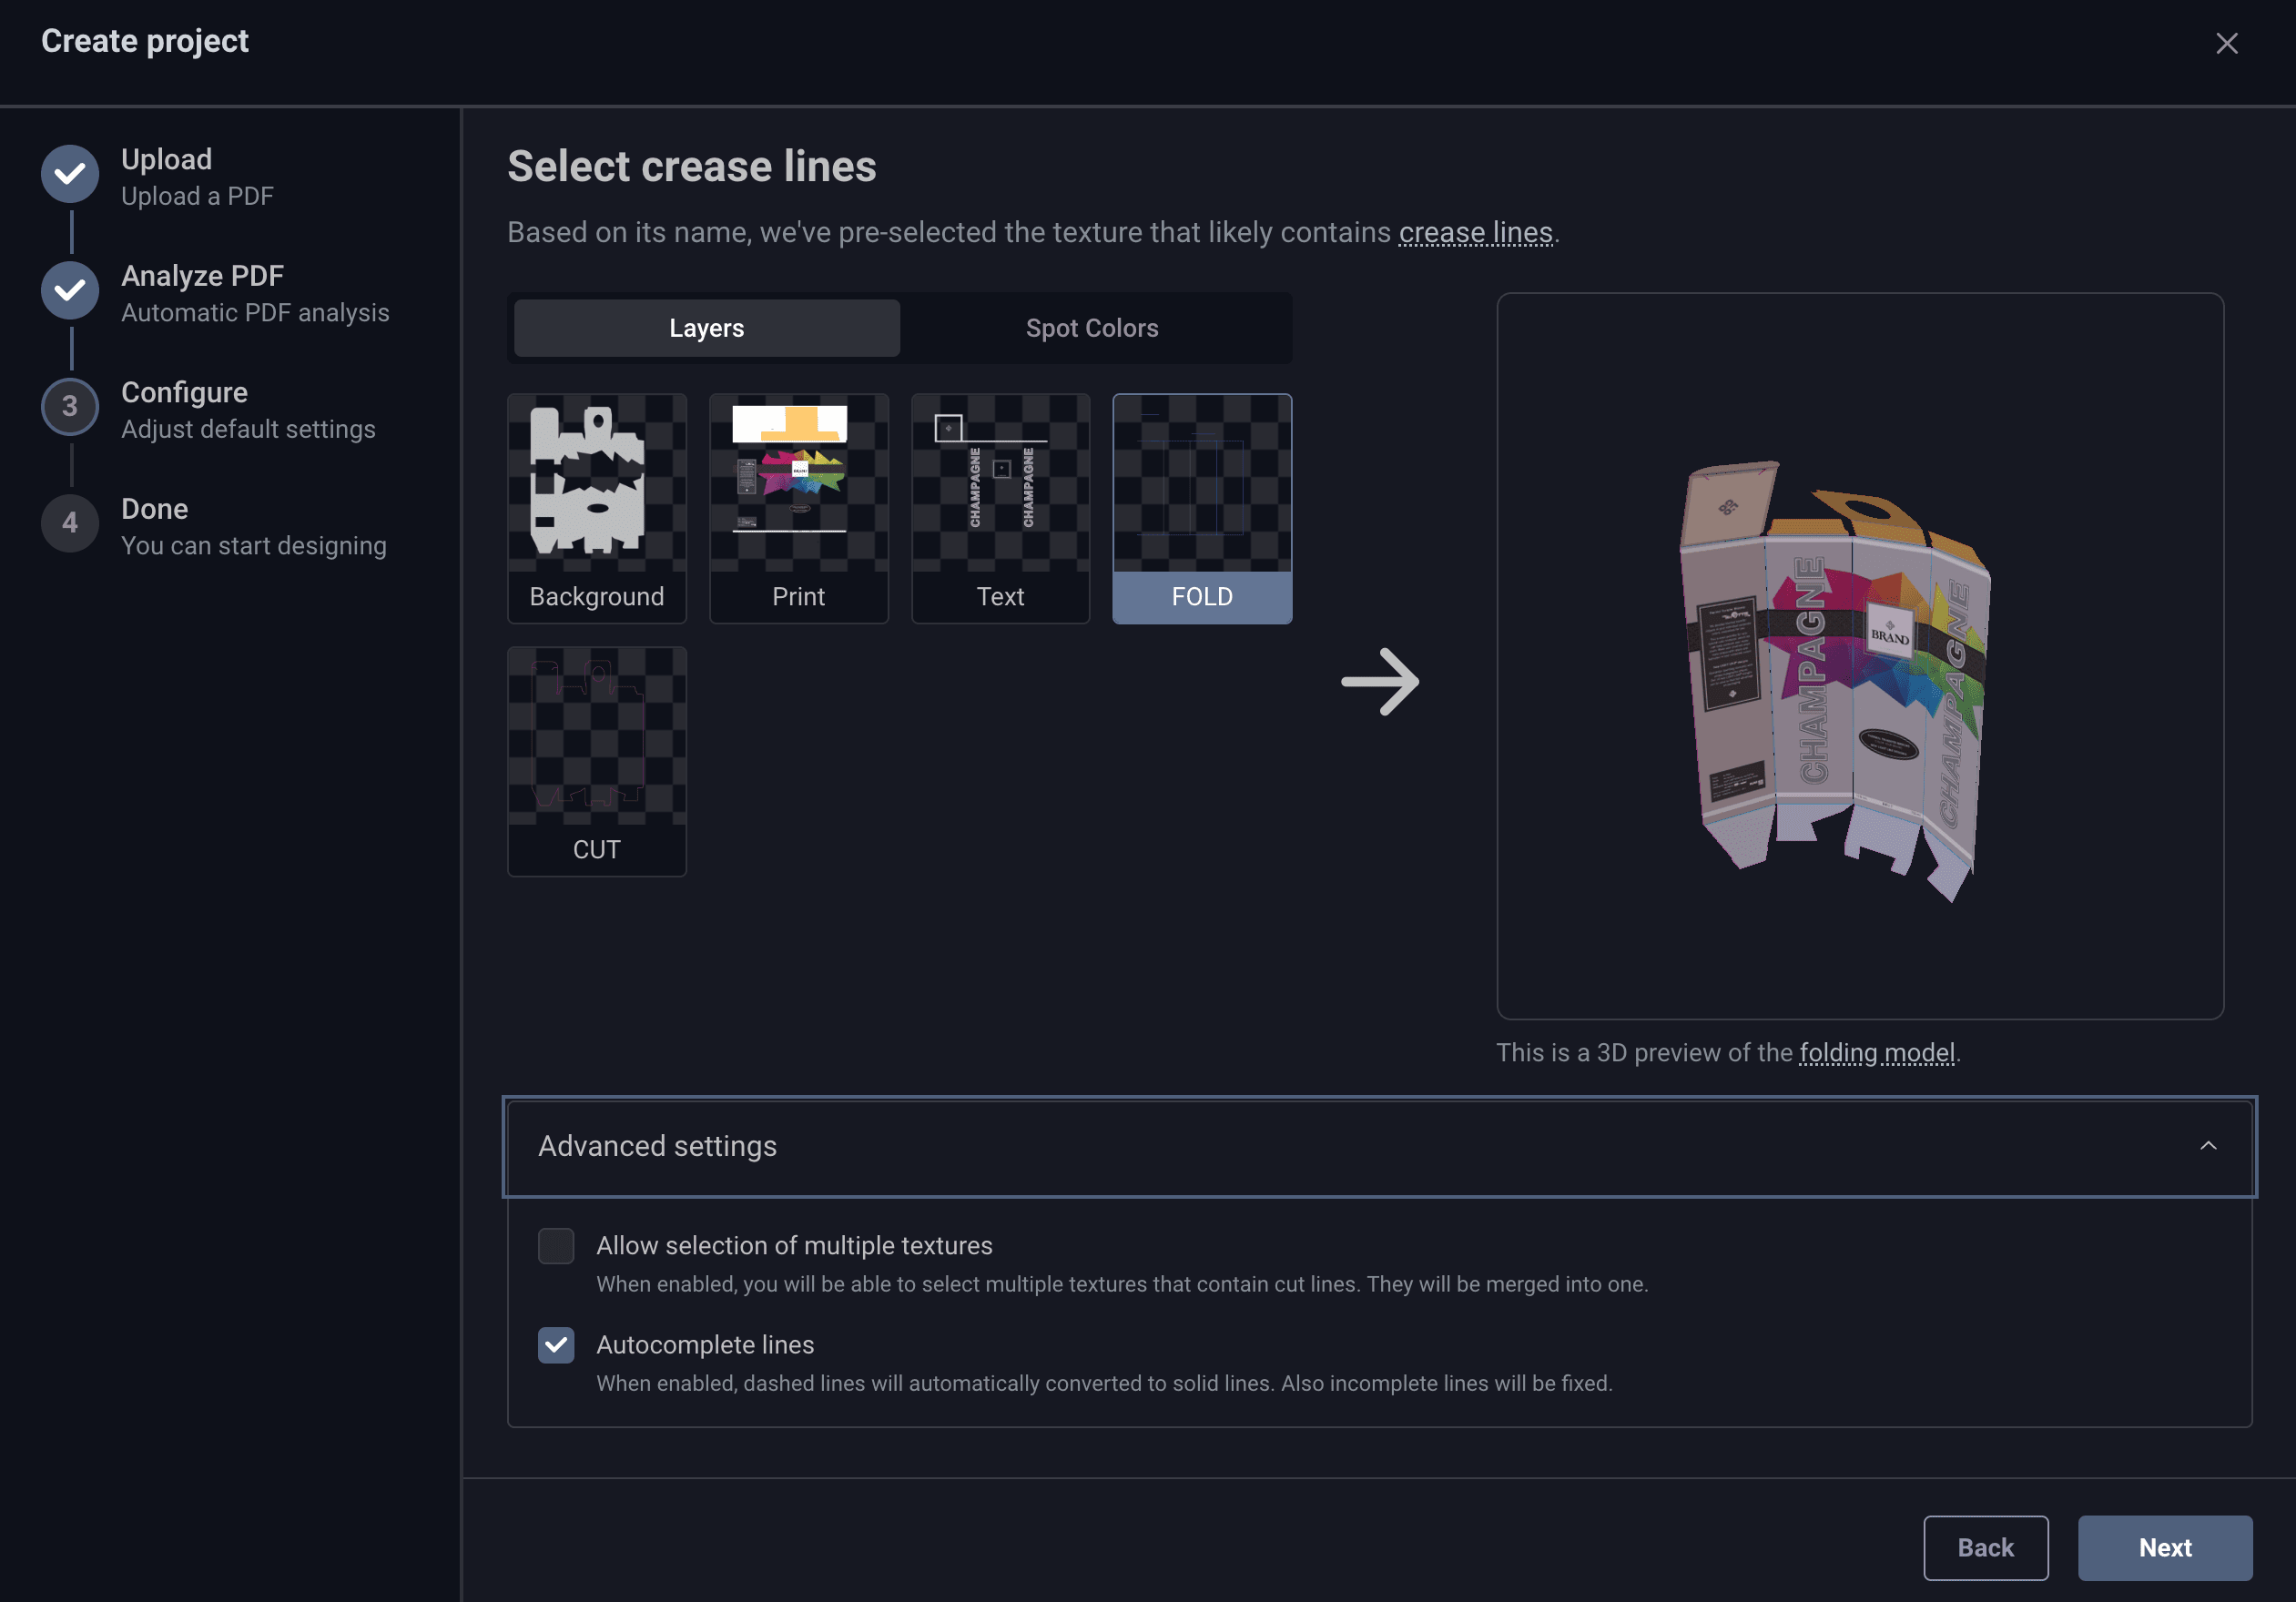
You can switch between Layers and Spot Colors tabs to define die-cuts and crease lines.
Advanced options allow you to:
- Allow selection of multiple textures – useful if your lines are split into different sources.
- Autocomplete lines – repairs broken or dashed lines.
- Invert cutout mask – swaps keep/delete areas if needed.
- Configure your Project:
Before finishing, you can set a project name and description.
This helps you organize projects when working with many different designs.
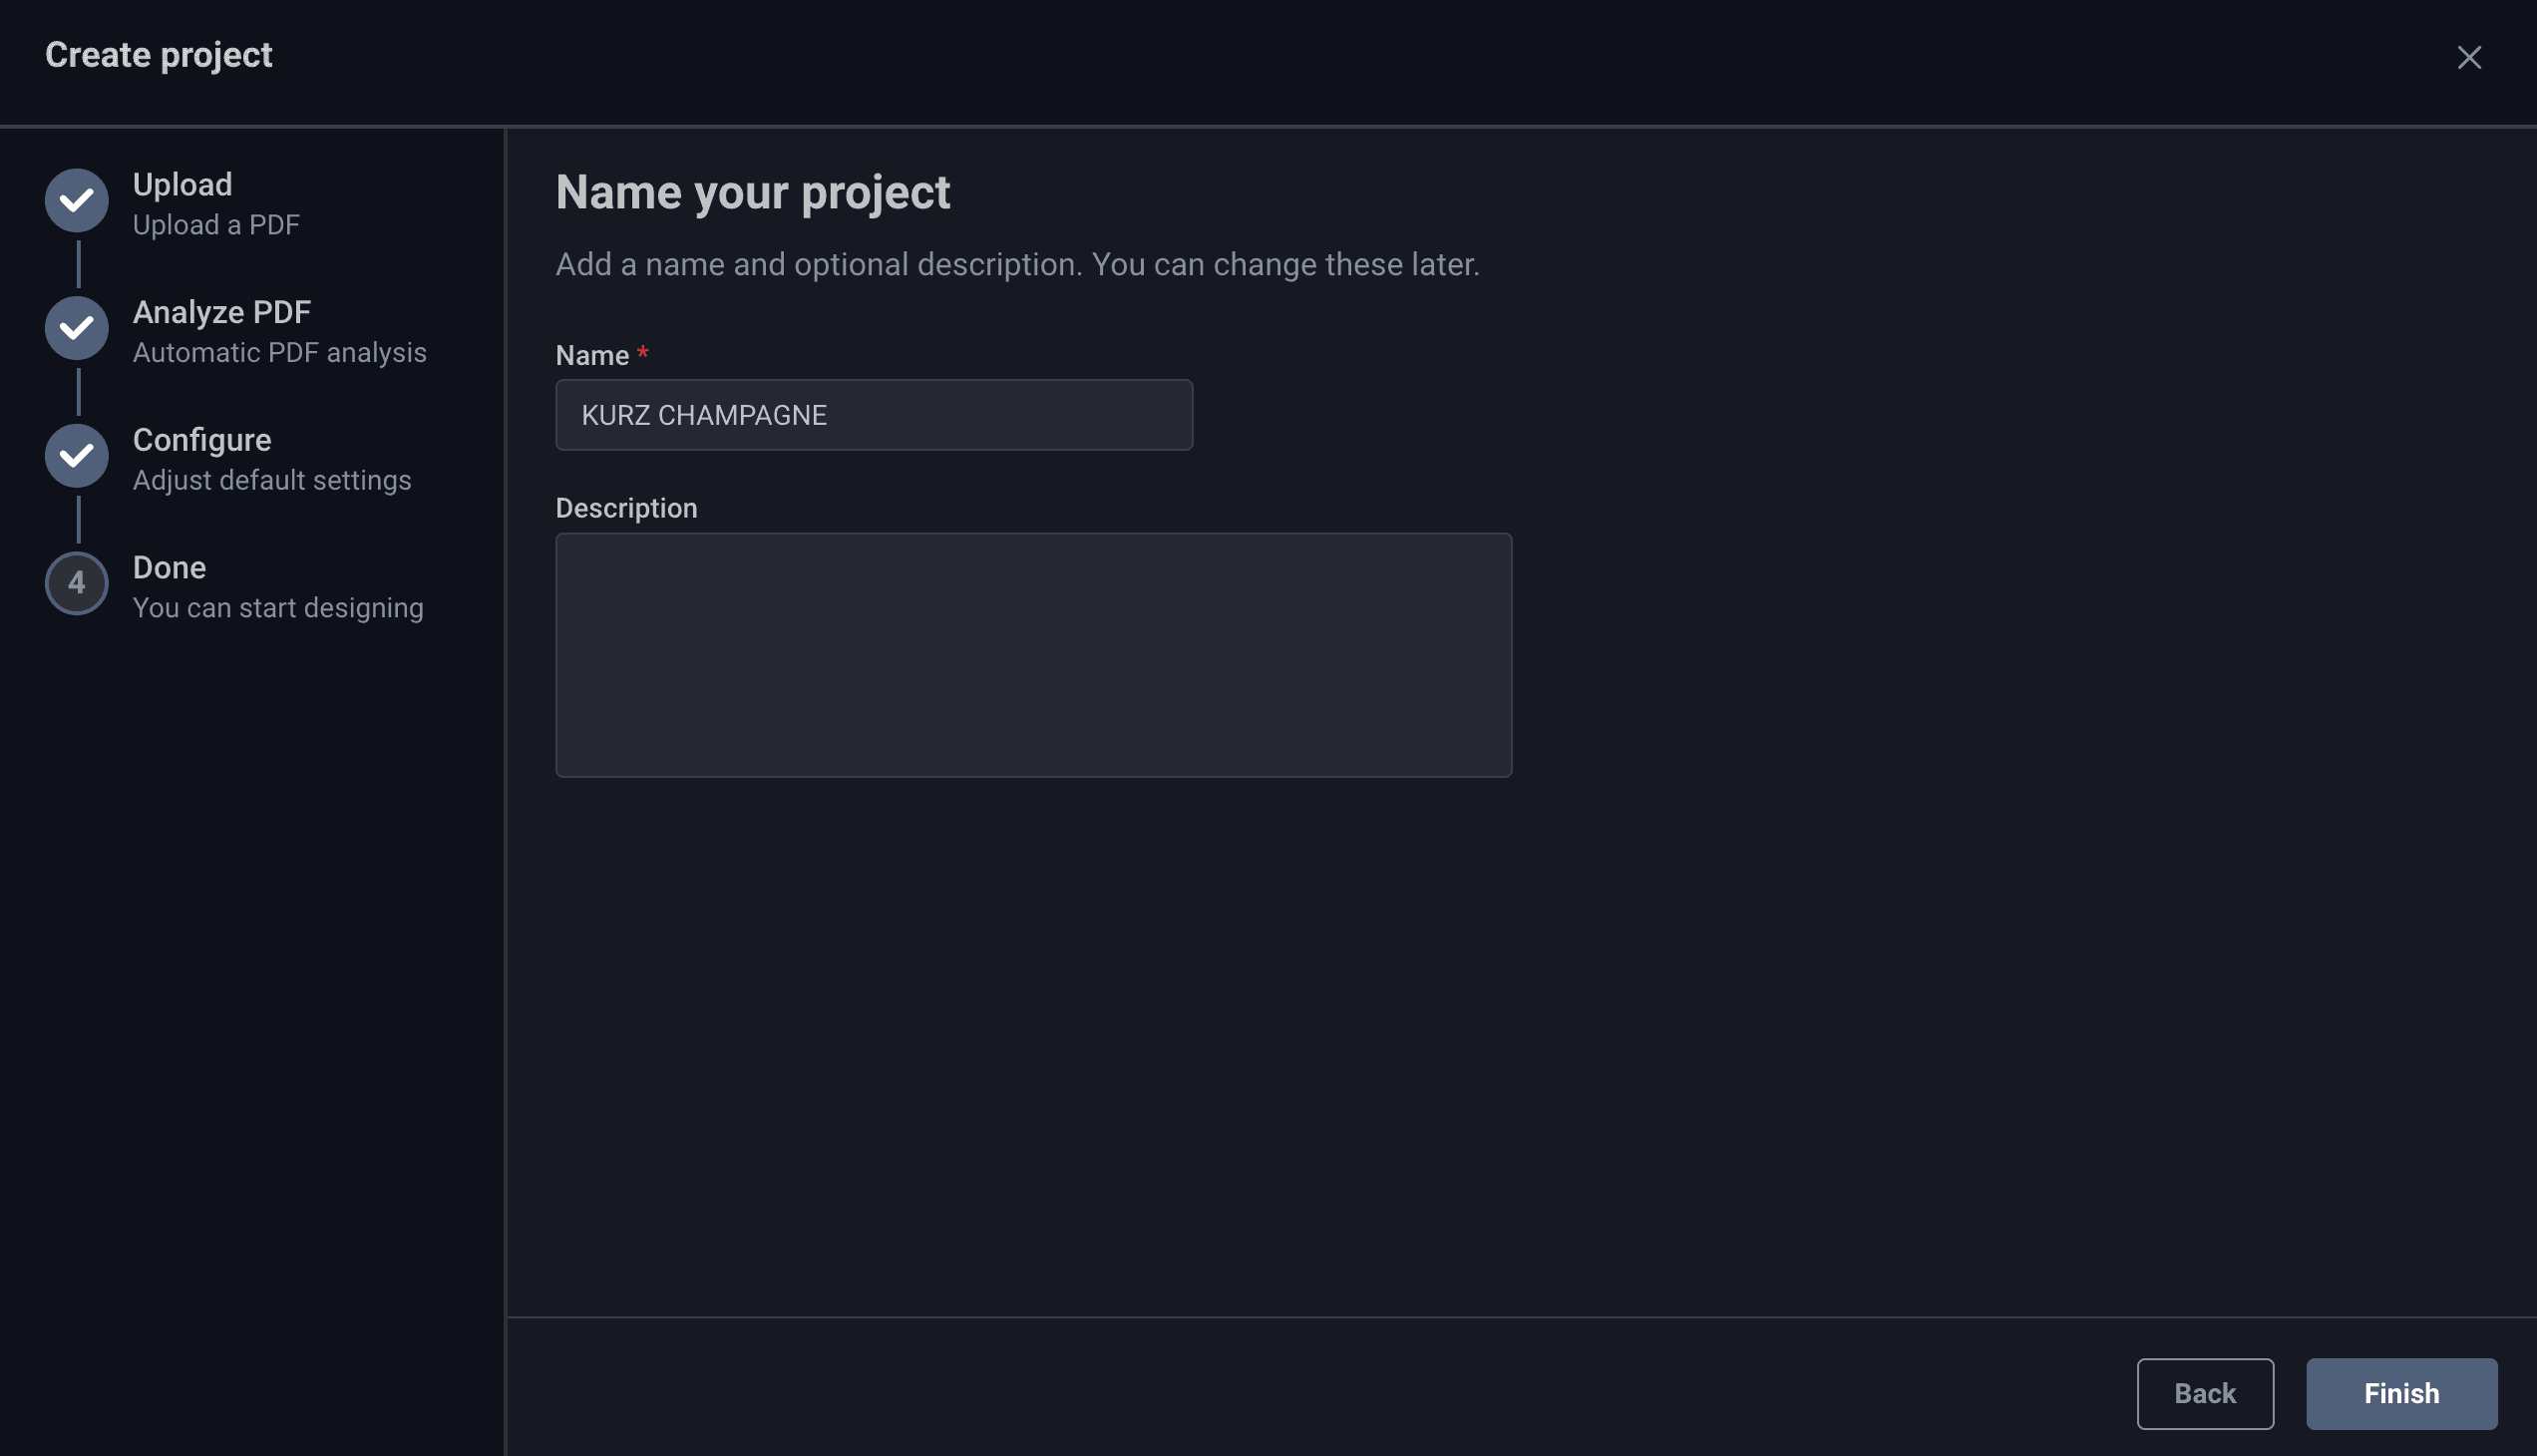
Click Finish to complete the onboarding guide.
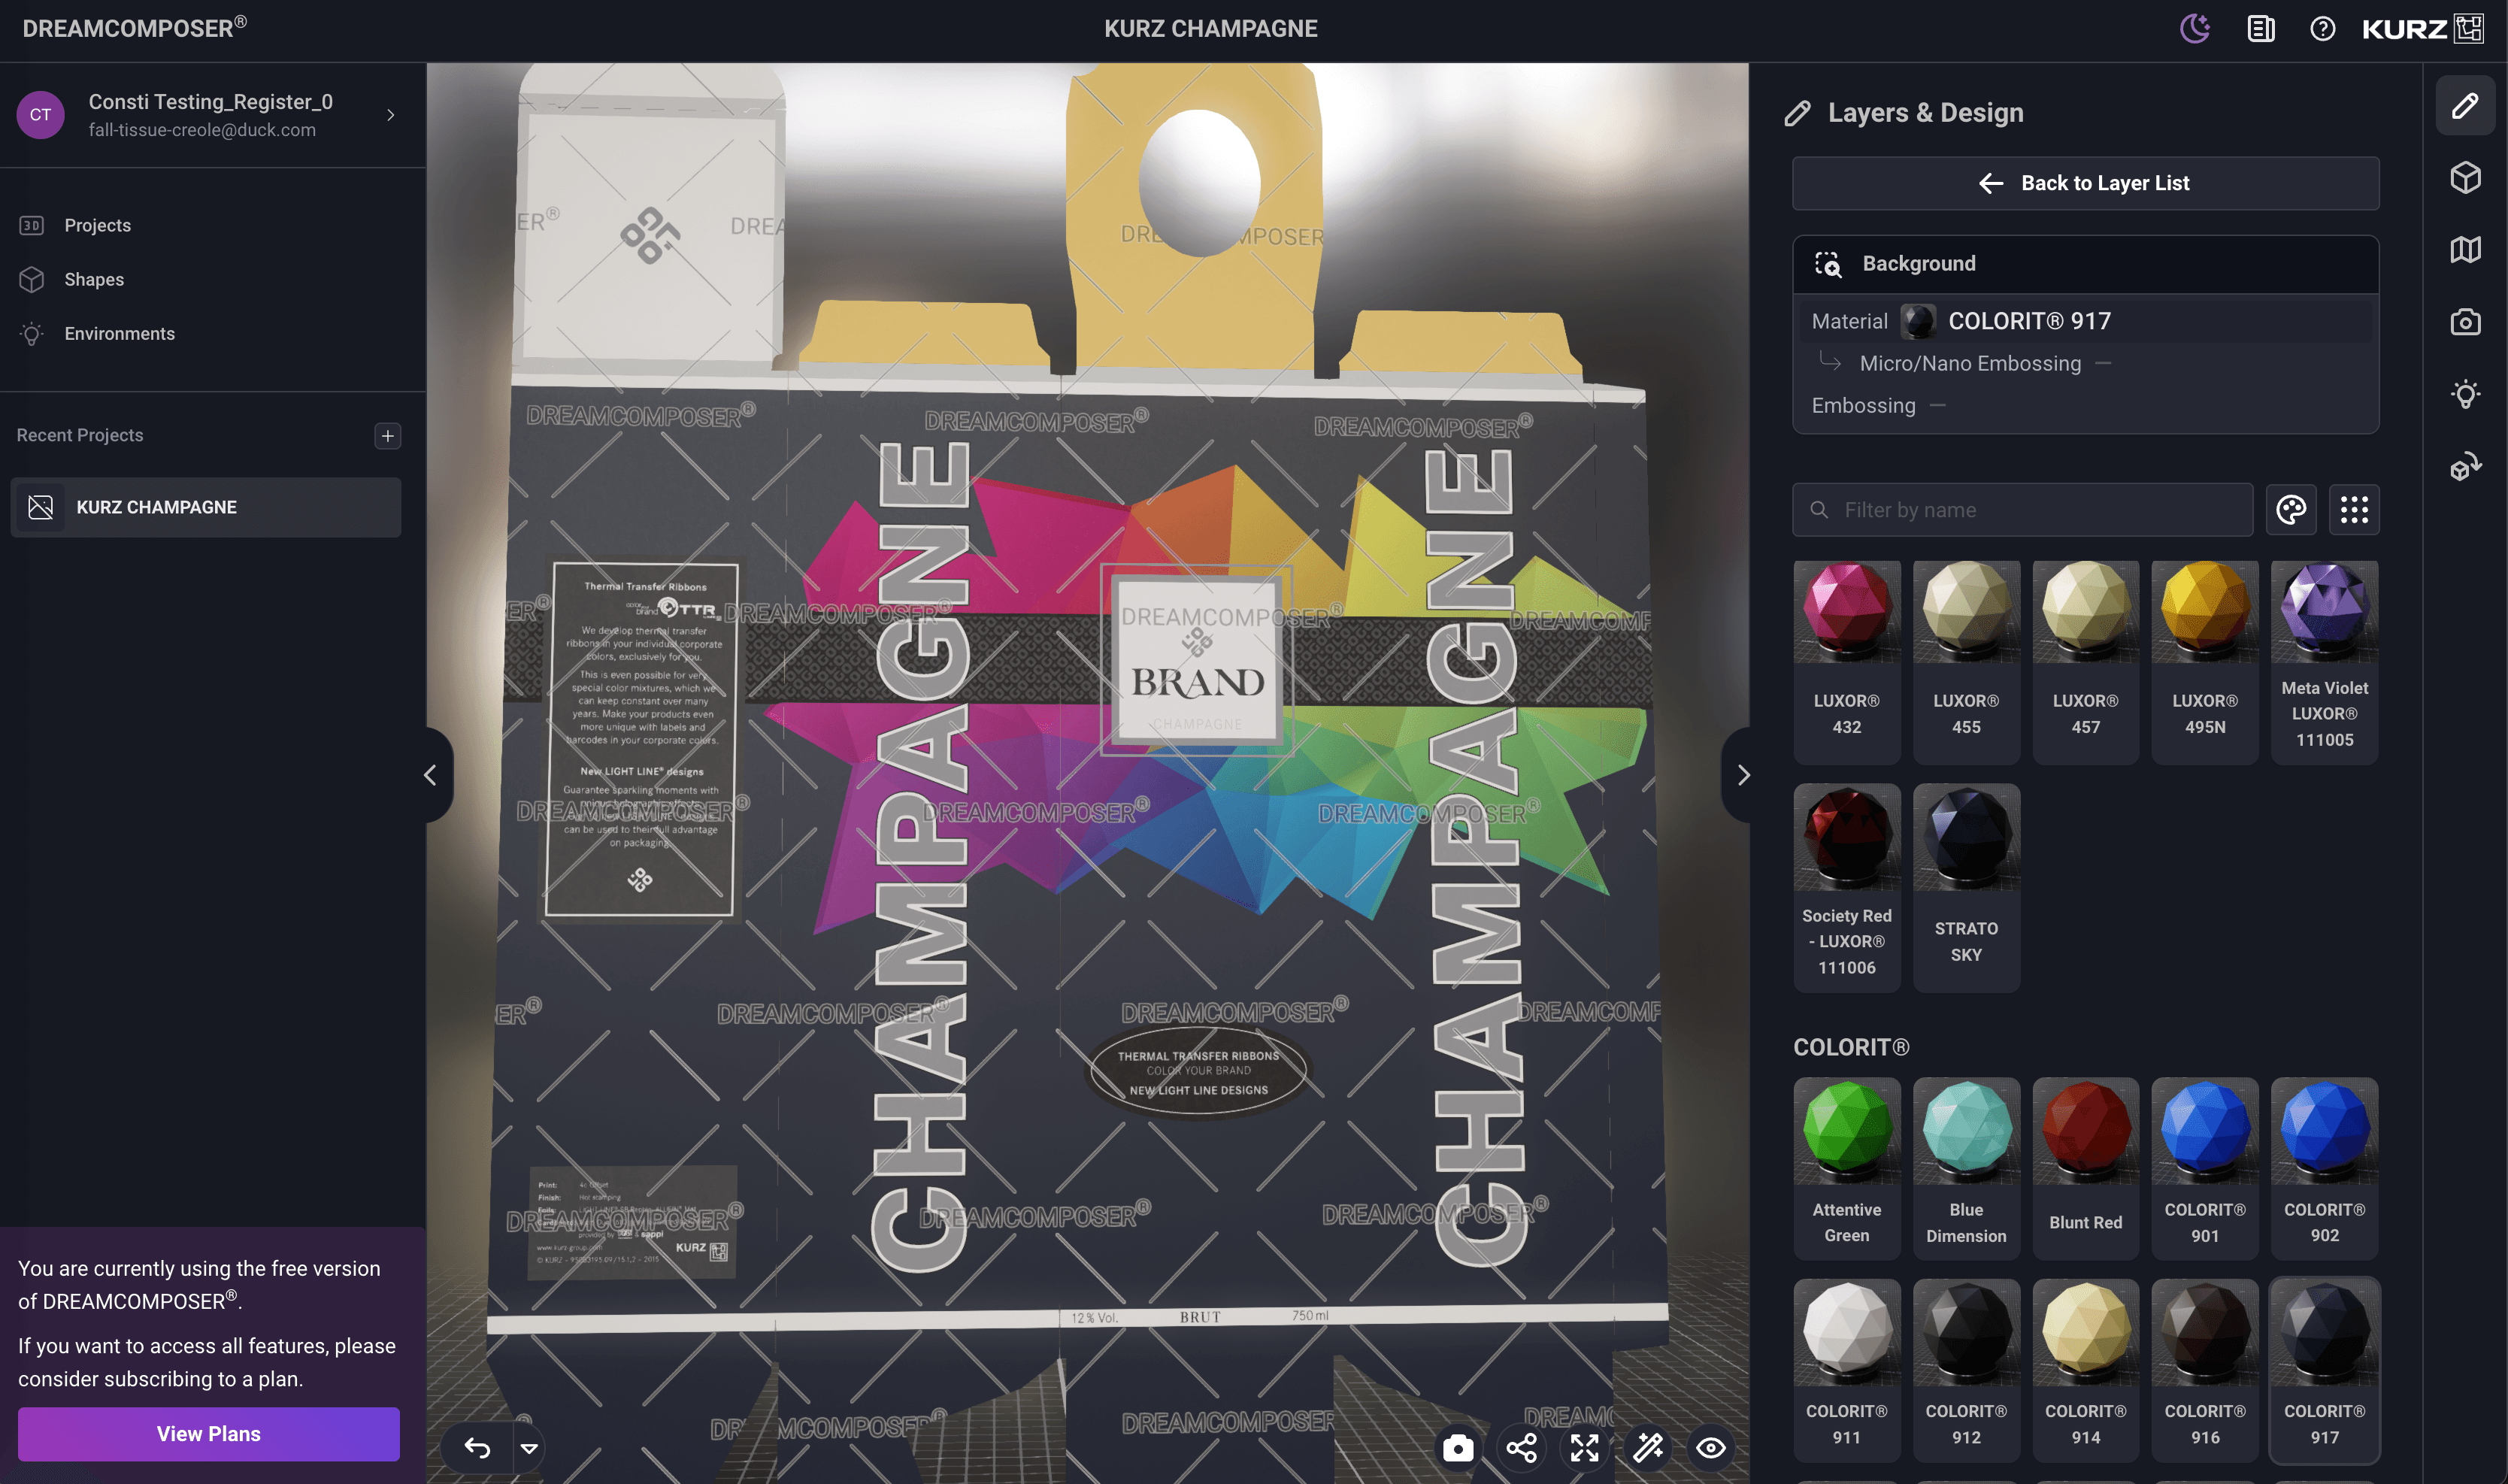
Your project will open in the 3D viewer, ready for the next steps.
Jump to sections Prepare a shape if you have a folding carton, if not you can start applying materials as you can see under Apply materials and effects .
If you encounter problems when uploading the file, it may be due to your firewall, your browser or your internet connection. The type of file you are trying to upload can also cause an error when uploading. If you are experiencing persistent problems, please contact DREAMCOMPOSER® support (dreamcomposer-support@kurz.de).